ServicesSolar Panel Installation
Solar Panel Installation in Centerville
We design and install solar panels on shingle and metal roofs, sized from a year of your actual usage. The plan covers your roof's condition, the attachments and the connection to your electrical panel, so you know the full scope and timeline before anything gets built.
A roof-mounted array, planned before you need it
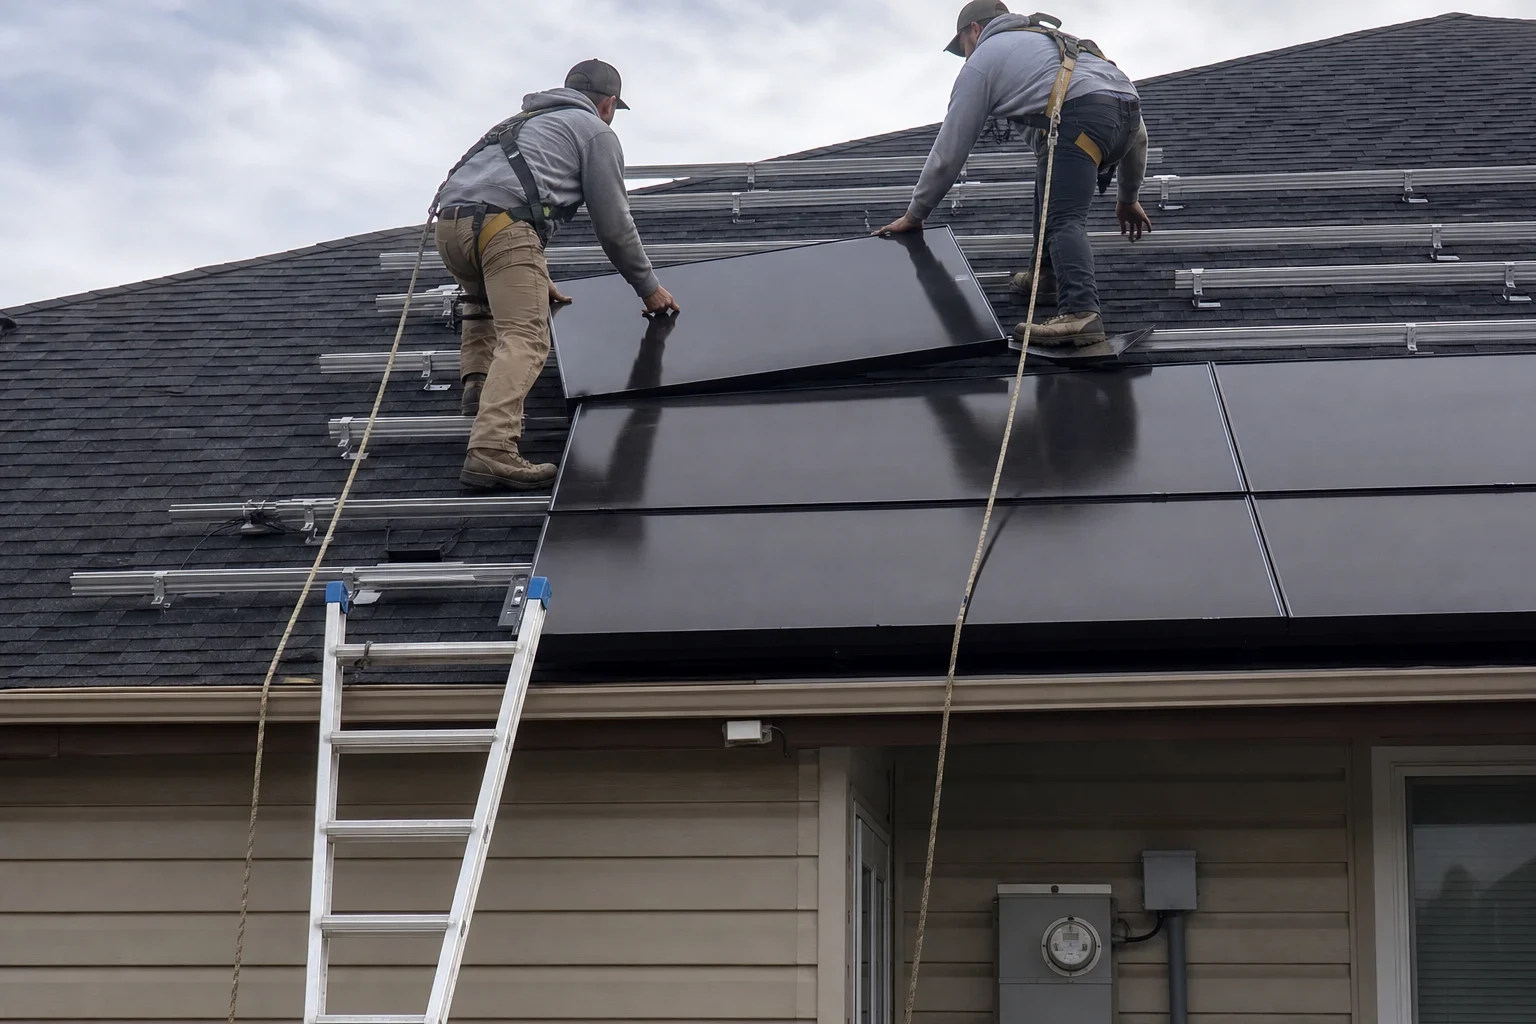
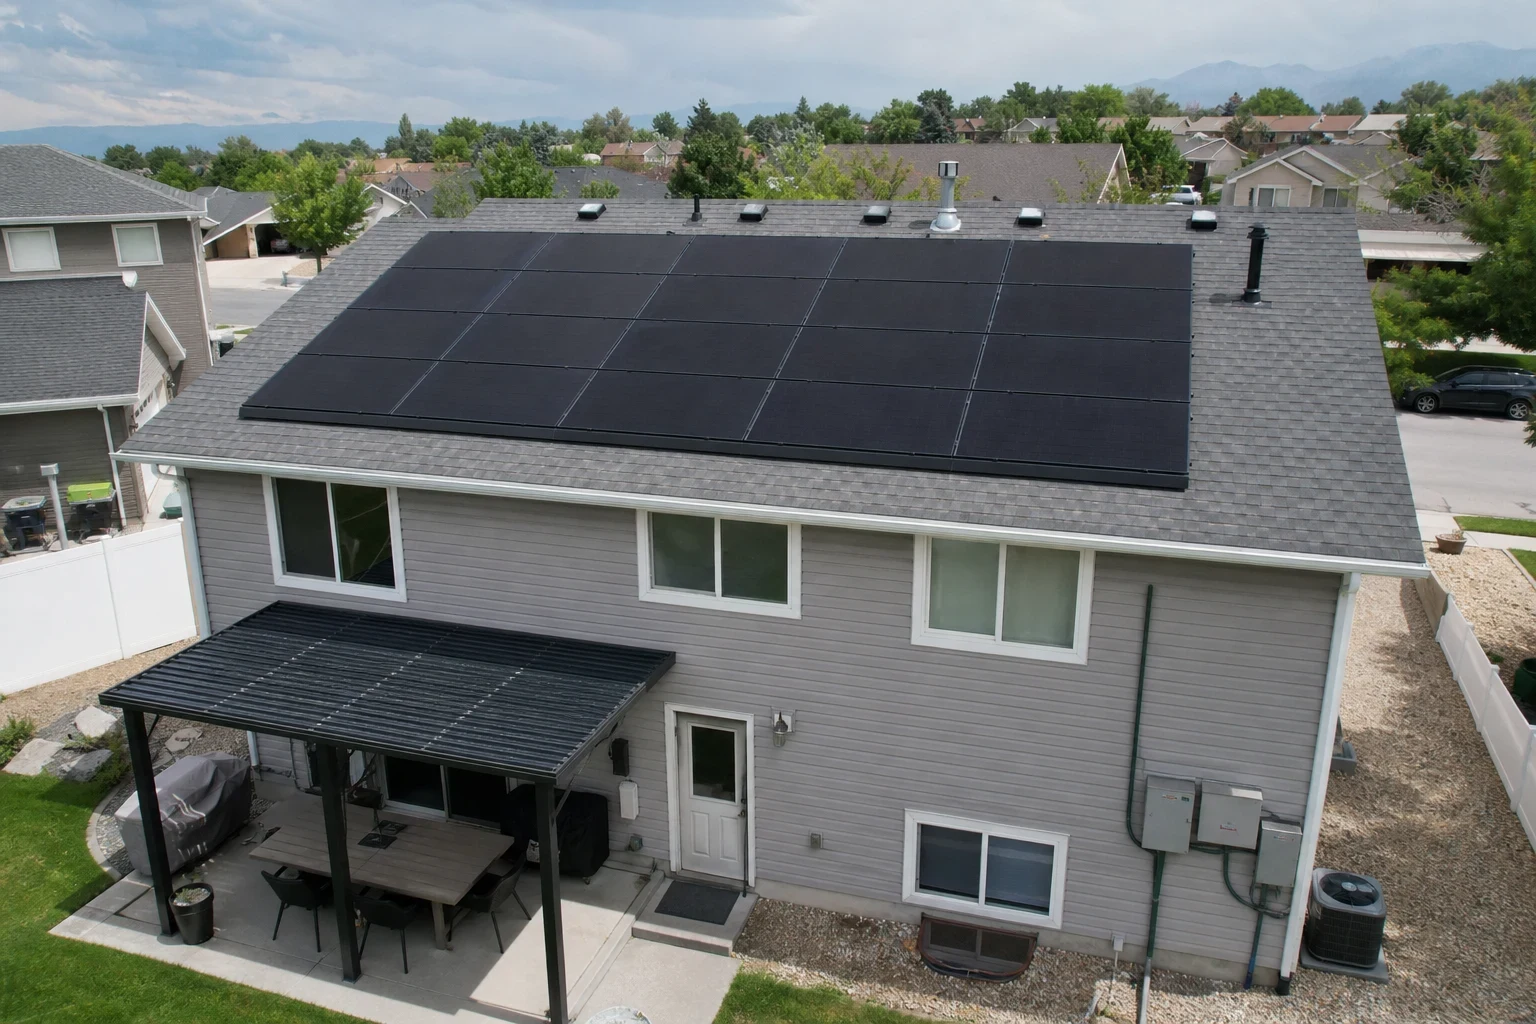
Our installation work puts panels on your home's roof, shingle or metal. Panels sit on low aluminum rails fastened into the rafters with flashed attachments, laid out on the roof planes that get the most sun through the year. Before we design anything, we check the roof's age and condition so the array does not have to come off for a reroof a few years later.
The best time to plan solar is before summer air conditioning bills climb and before you add an electric vehicle or a heat pump. We start from your 12 months of utility bills, then size the array for the load you have now plus the load you expect. That way the wiring, the inverter and the panel connection are chosen once, not redone in two years.
What the installation includes
Usage-based system sizing
We read your monthly kilowatt-hour history and model production for your specific site. The panel count comes from those numbers, not a standard package.
Roof condition check
We look at the shingles or metal panels, the decking and the roof's remaining life. If a reroof is due soon, we tell you before the design is final so you can do it first.
Attachments, flashing and racking
We locate the rafters and lay out the attachments to land in them. Each mount is flashed and sealed to keep water out, and the aluminum rails are set straight and evenly spaced from the roof edges.
Inverters and electrical tie-in
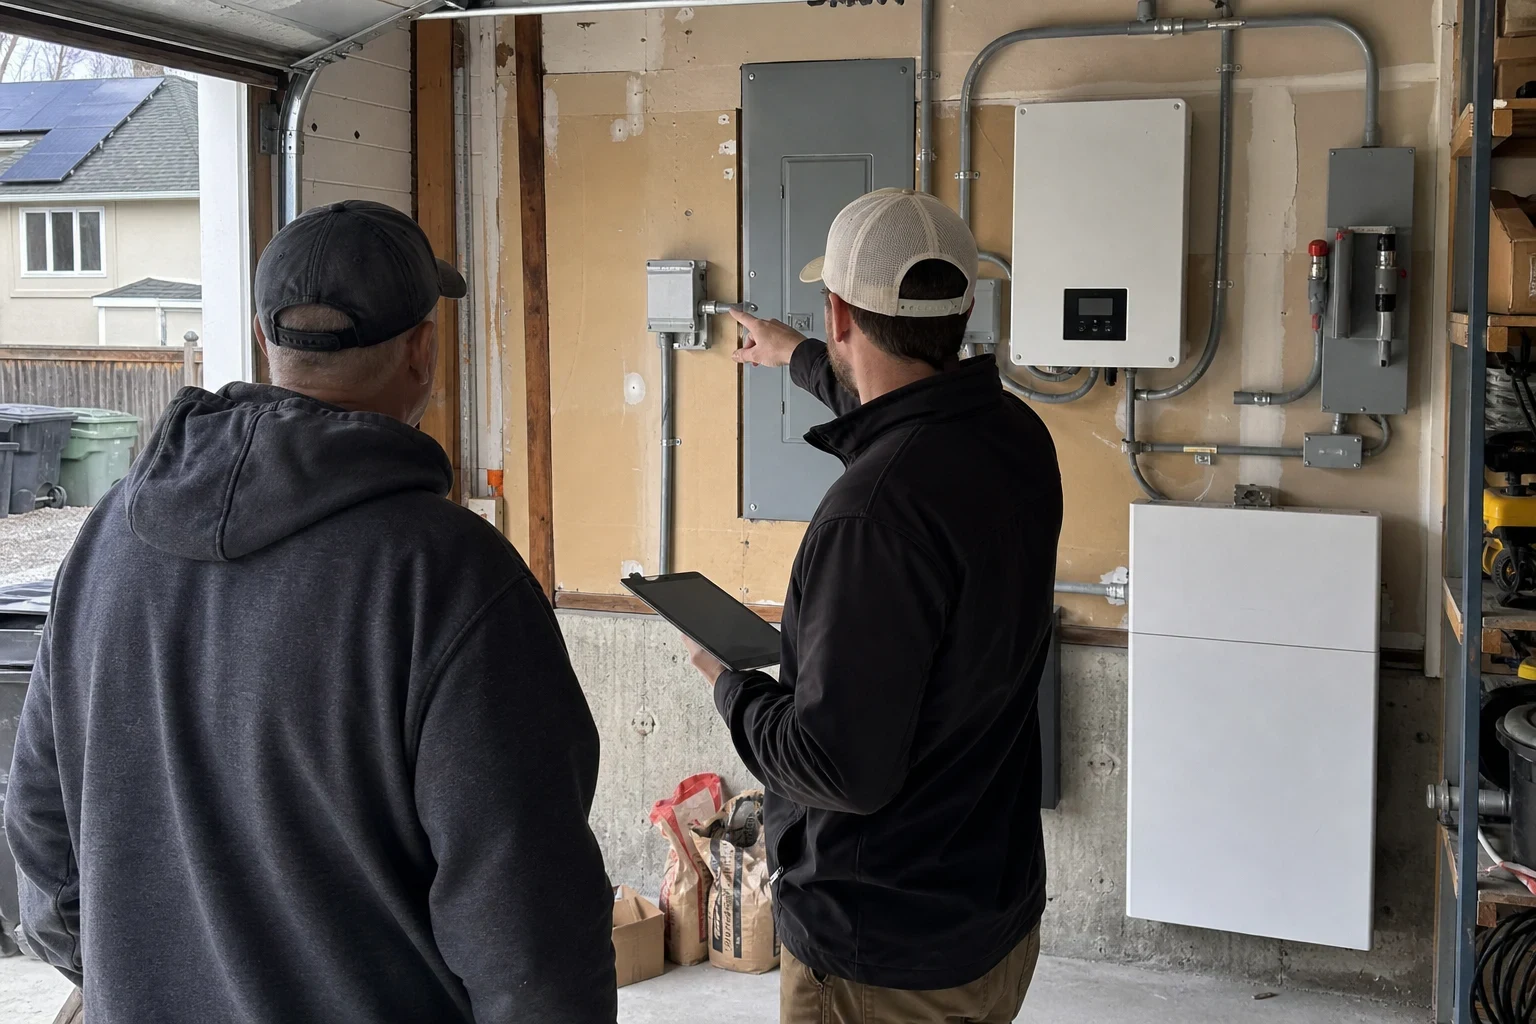
We install string inverters or microinverters, run conduit from the roof to your main panel, and add the AC disconnect and the panel connection. We check whether your panel has the capacity and tell you before the design is final if it does not.
Permits and utility paperwork
We pull the building and electrical permits and file the interconnection application with Rocky Mountain Power. Your system is switched on only after inspection and the utility's permission to operate.
Monitoring setup
Before we leave, we connect the production monitoring and show you how to read daily output on your phone.
Signs roof-mounted solar fits your home
- Summer bills keep climbing
- If July and August bills are your highest of the year, cooling load is driving your costs. Solar output peaks in those same long summer days.
- You have a sunny roof plane
- A south, southwest or west-facing roof without tall trees or buildings shading it is ideal. We confirm sun exposure during the site survey.
- Your roof has years of life left
- Panels stay up for decades, so a roof in good shape is the right base. If yours is newer or was recently replaced, the timing works in your favor.
- An EV or heat pump is on your list
- New electric loads can add thousands of kilowatt-hours a year. Planning the array for them now avoids a second permit and a second round of roof work.
- You want to budget, not react
- If you would rather set your energy costs on your own schedule than wait for the next rate change, now is a good time to look at the numbers.
How the job runs, from first call to switch-on
- 1
Free solar savings analysis
On the phone or in a free virtual appointment, we go over your bills and goals and estimate how much of your usage solar can offset.
- 2
Site survey
We visit your home to measure the roof, check its condition and sun exposure, locate the rafters and map the wire route to your electrical panel. You get a written design with the panel layout and equipment list.
- 3
Permits and interconnection
We file the permit set with the city and the interconnection application with the utility. This paperwork is usually the longest stretch of the timeline, so we start it as soon as you approve the design.
- 4
Installation days
Our crew, in harnesses, sets the flashed attachments, mounts the rails and panels, and runs conduit to your electrical panel. We clean up and haul away packaging and scraps.
- 5
Inspection and permission to operate
Once the city inspector signs off and the utility grants permission to operate, we energize the array. Then we show you how to read the monitoring so you can track output from day one.
What moves the cost of a roof-mounted system
Every array is priced from its own design, so the written estimate lists each part of the job separately. The biggest drivers are system size and what it takes to attach and connect the array on your roof. We also offer $0 up front, which we explain during your savings analysis.
- System size
- More kilowatts means more panels, more racking and often a larger inverter. Sizing for a future EV raises the number now but avoids a costlier expansion later.
- Roof type and pitch
- Shingle and standing-seam metal roofs use different attachments, and steep or multi-plane roofs take more labor and safety setup.
- Wire run distance
- The farther the array sits from your main panel, the longer the conduit and wire run. Wire gauge also increases with distance to limit voltage loss.
- Electrical panel capacity
- Some older main panels cannot accept a solar backfeed without an upgrade. We flag this at the survey so it is in the estimate, not a surprise.
- Equipment choices
- Microinverters, higher-efficiency panels and battery-ready inverters each change the price and the long-term flexibility of the system.
Solar panel installation questions
- How much roof space does an array need?
- It depends on system size and how much of your roof gets good sun. Vents, chimneys and fire code setbacks from the edges and ridge also limit where panels can go. We measure your roof at the site survey and show you the exact layout before you commit.
- What happens with snow on the panels?
- Snow on the panels stops output until it slides or melts off, and the smooth glass usually sheds it within a day or two of sun. Our production estimates already count the winter months, so a snowy week is built into the numbers.
- How long does the whole process take?
- The physical installation typically takes a few days. Permitting and utility approval take longer, which is why we encourage planning a season ahead rather than starting in the middle of summer.
- How does the utility credit the power I send back?
- Rocky Mountain Power credits exported energy at its current export rate, which is lower than the rate you pay for power you draw. That is why we size systems to match your own usage closely, and why some homeowners pair solar with battery storage.
- Can I add batteries or more panels later?
- Yes, if it is planned for. We can choose a battery-ready inverter and oversize the conduit now. Our Battery Storage and Solar System Add-Ons pages explain the options.
Plan your array before summer bills arrive
We will review your usage, check your roof's potential and lay out what a roof-mounted system would cover. You will know the scope and timeline before you decide anything.